Smoke box with bafflesMarty and Randy installing the front end componentsThe front is on once againDave and Bob guide the locomotive out
Work in April was more of the same on the #18, jacketing, smoke box, and plumbing.
The smoke box was the big push. The first thing was to manufacture and install the baffles. We first cleaned up the old studs on the tube sheet and made two angle iron brackets to bolt above the tube holes. Then, using the 1/4″ plate Forrest had previously roughed into size, we cut the plate into three pieces and bolted it to the new brackets. Finally we made a lower bracket that spanned the width of the smoke box. It took two of us with long arms to reach the lower bolts and tighten them up. With baffles in, Marty began to manufacture a blower ring. Because the original single pipe angled upwards providing the blower was in poor shape, we decided to make a blower ring. A blower ring is effectively a circle of pipe that goes around the exhaust nozzle with – in this application – four small holes directed towards a center point in the exhaust. This is a common thing on locomotives and a big improvement over the single pipe. After all the internal smoke box work was complete we installed the smoke box door and frame. Official videographer Ed did a short fill of its installation which can be viewed here.
The only problem is the smoke stack is too tall for the tent.Almost all the way outGuiding the dome into place
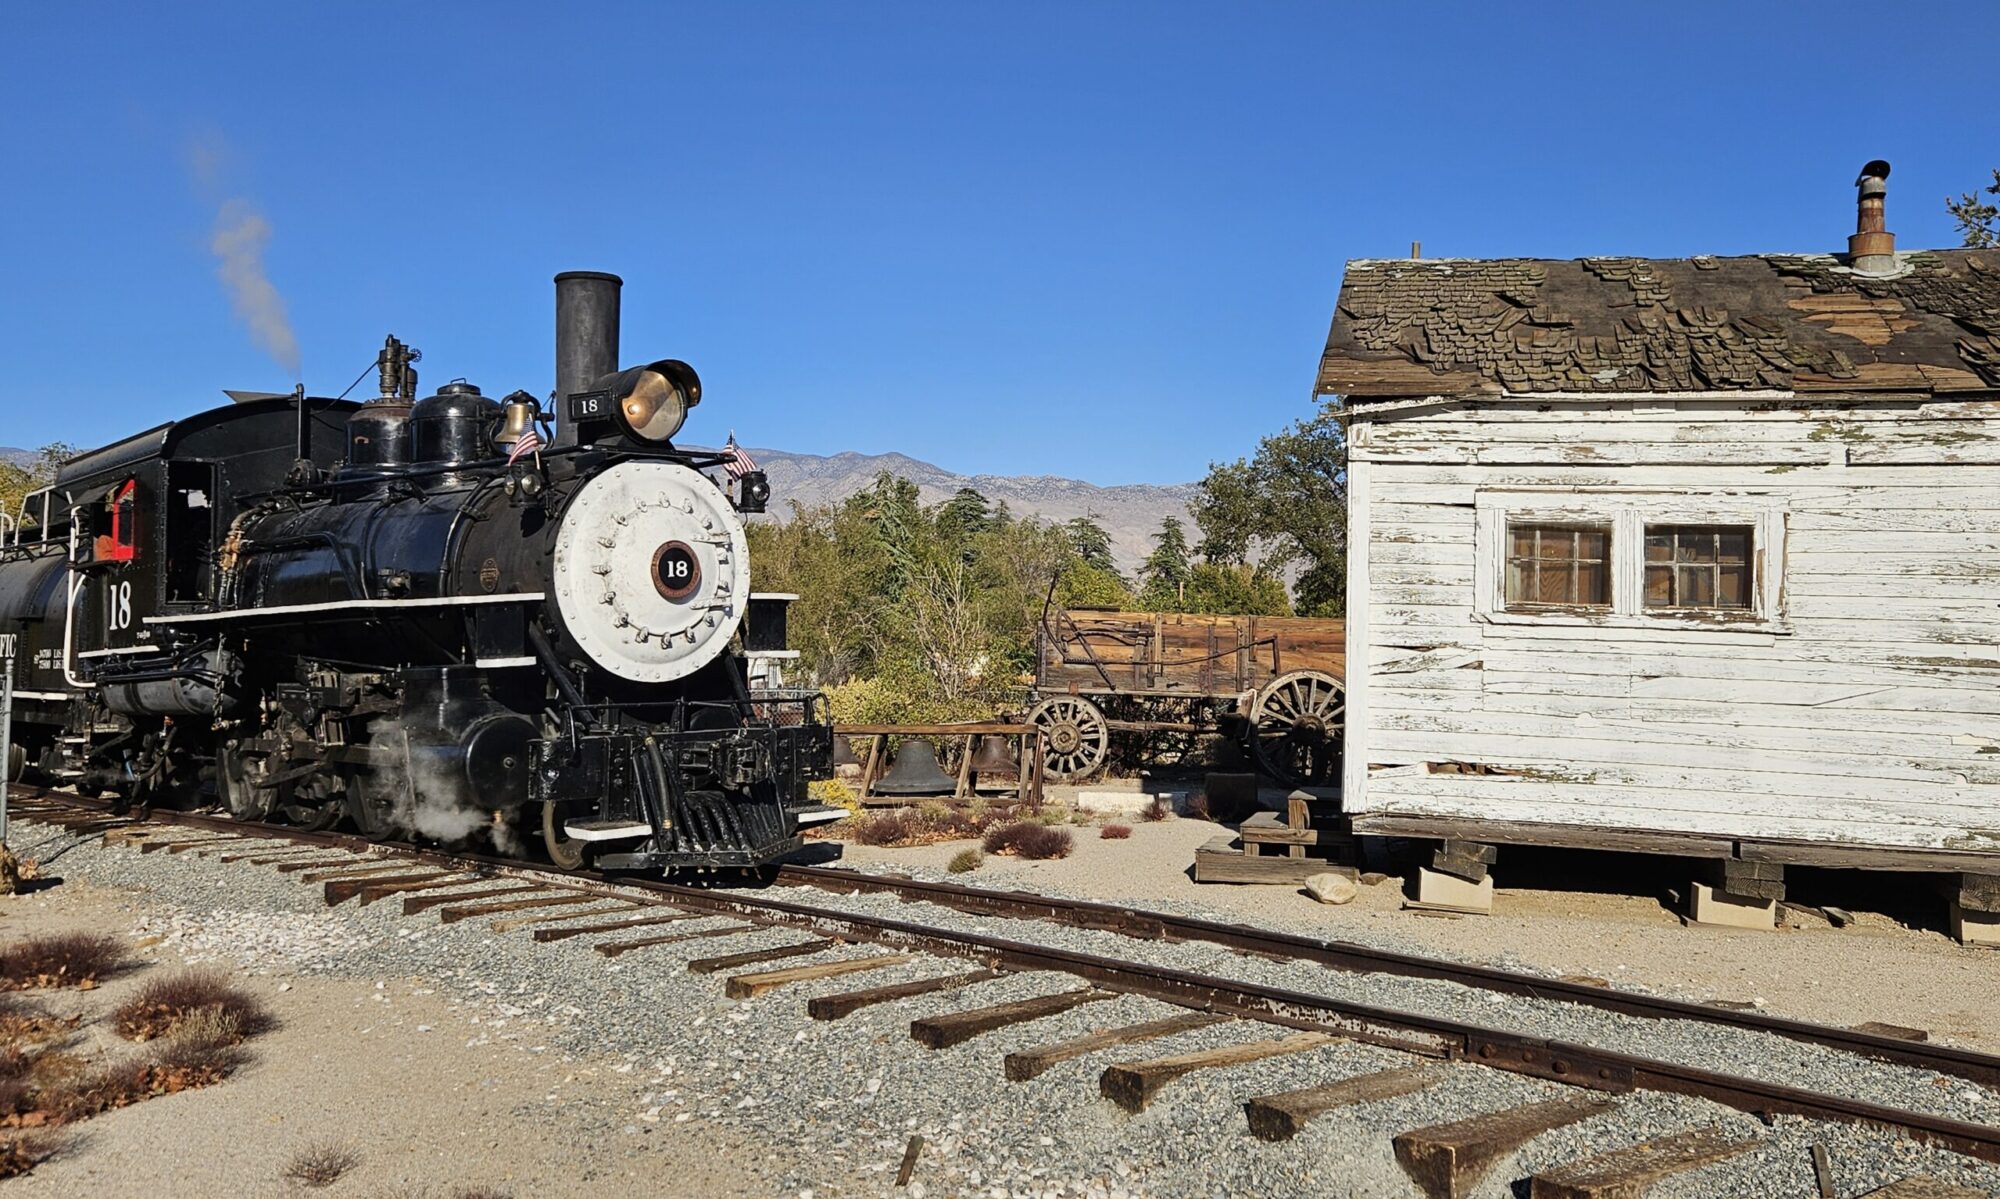
While all the smoke box work was going on, it was time to put our new snap track into service and bring the engine out to install the sand dome and air pump. Because of the height of the stack and tent door we couldn’t bring the engine all the way out – this is in process of being remedied with a new door. As in the past, the locomotive easily rolled out, farther than it’s been to date. With the stack almost against the tent door we had enough room to set both the sand dome and air pump. As we had also found in the past, there is a very slight down hill grade and combined with the freshly rebuilt running gear, a half dozen guys can push the engine back inside the tent without too much trouble.
Now for the air pumpSand dome base in place
With the sand dome in place, Forrest and Doug spent the rest of the weekend continuing on the jacketing. By quitting time on Sunday the jacketing was starting to really look good. One or two more work weekends should have it complete, except of course for the cab portion.
The final weekends project was to continue to manufacture all of the in cab lube lines and connections, most of which we were able to complete. All of these will ultimately come back out, but at least there will not be any issue doing the final assembly.
Once again it was a productive weekend and we are one step closer to having steam!
The air pump is back onForrest and Doug continue the jacket workThe jacketing at the end of the weekendCab plumbing with new brass lines
The new reservoirs drilled and ready.Rick shows off the finished lube lines.Travis and Randy lagging away.The lagging continues.Marty and Randy mudding the first courses.Travis is giving a final lap on the throttle.Sometimes skinny pays off. Travis installing the throttle.Marty tightens down the dome lid.Marty getting the doughnuts ready for installation.Dave and Marty lying around.Everyone waiting for Marty.Doing the final tightening on the seats.The engineers injector loosely in place.In comes the bell.Fitting the bell and roughing in the jacketing.
February may have only 28 days, but we managed to work 8 of them over the course of two weeks.
The first work week was three days that focused on drilling the new reservoirs and installing the lube and air lines. The reservoirs are newly built and certified, and along with the process of drilling them with a series of very shallow holes, allows them to not require annual testing per FRA regulations. This is the same practice on modern diesel locomotives. The lube lines, and air lines, are four lines that run from the cab under the insulation to the valves, air sanders on the sand dome, and bell ringer. These lines all had to be bent into position, threaded and, the copper flared and annealed.
After making tremendous progress with a small crew, a larger crew was on the job the following week for almost five full days. There were multiple areas of focus over the week, perhaps the most noticeable work was lagging the boiler. Installing the insulation, or lagging, is a dirty job that at one time would have been done with asbestos. Today we use calcium silicate block and mud. Utilizing the heavy wire we had previously wrapped around the boiler barrel we started at the front bottom and worked our way up and around wiring the block with light gauge stainless steel wire to the existing wire. Some areas were easy with full blocks, while some areas required custom cut pieces. After about 16 hours with three of us cutting, wiring, and measuring we had the entire boiler barrel complete (the cab and wrapper sheet areas will not be lagged until after the first steam up) and ready to mud all the rivet and pipe areas. It was exciting to see a different looking locomotive after all these years looking at a red primer boiler.
Before we had lagged the area around the dome we had our FRA inspectors in town to perform their post hydro interior inspection. All went very well with the inspection and we were able to re-install the throttle and the dome lid. This was their last inspection prior to the engine being steamed up.
Before putting the throttle back in we did a bit more lapping on it since we had discovered it leaked some during our previous hydro test. After lapping, it was then time to install the throttle, which, as we have come to find out is about the most difficult job on this engine. Travis kindly volunteered and squeezed into the dome to do the install. Hours later, the dome was installed and we performed yet one more hydro to make sure our previous re-sealing of the dry pipe joint on the front flue sheet was not leaking, thank goodness it wasn’t, or we may have given up the entire project in frustration.
With the dry pipe not leaking, we moved onto our other big – or at least heavy – job, installing the steam pipes in the smokebox…yet again. Thanks to the aforementioned dry pipe joint that was leaking we had to remove the pipes after our first install, did I mention they weigh about 300 pounds each. At least we were experts at doing it and this time it took only about 2 hours to have them both in and seated in place. The firemans side proved to be a bit tricky since the newly repaired ears were just slightly off of the correct angle.
With pipes in we then hydro tested them through the slide valves to make sure the joints were all sealing, which they were, with the exception of one that required a little more tightening.
Aside from the bigger more photogenic projects mentioned above, there were also many other important things occurring such as cleaning up the fire bricks (these were new bricks installed in the 90’s but the loco was never fired with) and prepping them for re-installation, installing some of the below cab floor air lines and brackets, and also fitting the injectors and their brackets and plumbing.
On our final day of work, after the insulating mud had dried we began to fit the new (old) jacketing. The jacketing was built in the mid1990’s when the asbestos and original jacketing were removed. While in generally good condition, it will require replacement of some pieces and refitting of others. To correctly fit the jacket we had to re-install the bell and lower steam dome rings.
For next months work we can now continue on with installing the petticoat pipe in the smokebox, install the firebrick and sand dome as well as continue on with the jacketing. Slowly but surely we are getting closer and closer to steam!
Finally, we received a new boxcar! Well actually it was delivered back to us from Olancha where it had been living. #451/13 is honestly in the best condition of the 3 boxcars currently at the museum. Currently we have no plans to do anything with it other than set it up for storage. Someday we would like to make one boxcar serviceable for behind the #18 at the museum and this may be the one.
As always a big THANK YOU to everyone that comes to work as well as everyone that helps house and feed those who do come from out of town, we couldn’t do it without you!!
Bob and Scott are cleaning up the fire bricks.Our new boxcar #13


You must be logged in to post a comment.